Screen recording on your iPhone is a powerful tool that allows you to capture not only what’s happening on your screen but also with sound. Whether you’re creating tutorials, sharing gameplay, or documenting important moments, the ability to record with sound adds a new dimension to your recordings.
In this guide, we’ll walk you through the process of screen recording on your iPhone with sound, step by step.
also read: How to Share Screen on FaceTime on iPhone or iPad: A Best Guide
Enabling Screen Recording
Before you can start screen recording with sound on your iPhone, you’ll need to enable the screen recording feature in your Control Center.
To do this, go to Settings > Control Center and add the Screen Recording option. This will make the screen recording icon accessible from your Control Center.
How to Screen Record on Your iPhone
Once you’ve enabled screen recording, initiating a recording is simple. Swipe down from the top-right corner of your iPhone screen to access the Control Center.
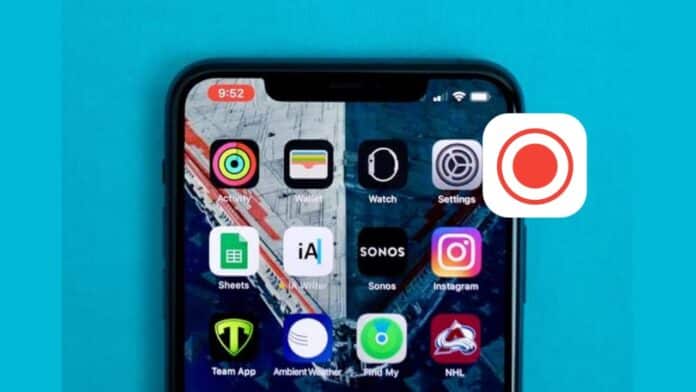
From there, tap the Screen Recording icon, which looks like a circle with a dot in the middle. You’ll see a three-second countdown before recording begins, giving you time to prepare.
Stopping the Recording
To stop recording, simply tap the red clock icon in the status bar at the top of your screen. Alternatively, you can return to the Control Center and tap the Screen Recording toggle again. Your recording will automatically be saved to your Photos app once you stop recording.
Limitations with FaceTime Calls
It’s important to note that while the built-in screen recorder on your iPhone allows you to capture screen activity with sound, there are limitations when it comes to recording audio from certain apps, particularly during FaceTime calls.
Currently, it’s not possible to screen record a FaceTime call with sound using the native screen recording tool.
This limitation also applies to other video calling apps. However, there are alternative apps, such as Riverside, that offer solutions for recording video calls with audio.
Exploring Third-Party Apps
While the native screen recording tool on iOS is sufficient for basic recording needs, there are third-party apps available that offer additional features and functionalities.
For example, apps like Record It! and V Recorder provide options for recording reaction videos, adding voiceovers, and even using a teleprompter for scripted content.
These apps can be particularly useful if you require more advanced recording capabilities beyond what the native screen recorder offers.
Wind Up
Screen record on your iPhone with sound opens up a world of possibilities for content creation and sharing.
Whether you’re a content creator, educator, or simply want to capture memorable moments, the ability to record both your screen and audio adds depth and context to your recordings.
By following the steps outlined in this guide and exploring alternative apps for specific needs, you can make the most of screen recording on your iPhone and unleash your creativity.


Voice look
Thanks you
Voice look
Voice look
Voice look
Voice lock
Voice look
Voice lock
Wow
Voice look
Voice look
Voice look
Good
Voice look
Voice look
Voice look
Download apps.
Screen share
Screen share
Voice look
Voice
Good news
Good luck
Voice look
Voice look
Hey Siri lock the phone
Voice look